Tardis
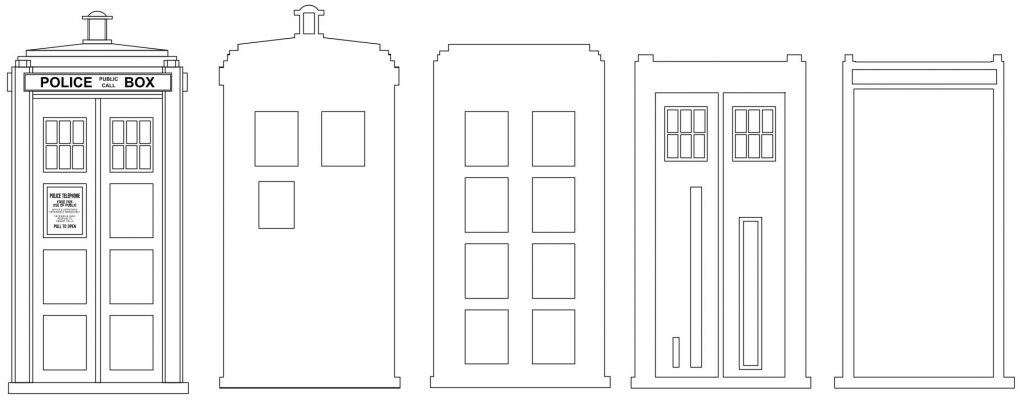
The original plan for this was to create a Tardis that I could put alongside a clock. The initial challenge was to find a decent line art image that I could use as the basis to create the different layers to make up the 3D artwork.
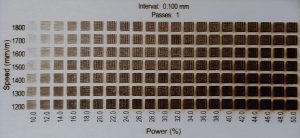
Using a bitmap line art plan for the Tardis, I created a lot a vector line art image that would allow be to create the different layers. It's worth noting that's when you print line art images using the burning software that this does not understand the different layers of an object and therefore will burn lines that are normally covered over the a fill shape.. The other common problem is due to how shapes within the drawing are filled and coloured can result in an image that becomes just a black BLOB instead of what you are expecting. It's always a good idea when burning any image to use the preview feature in the software so that you don't waste materials.
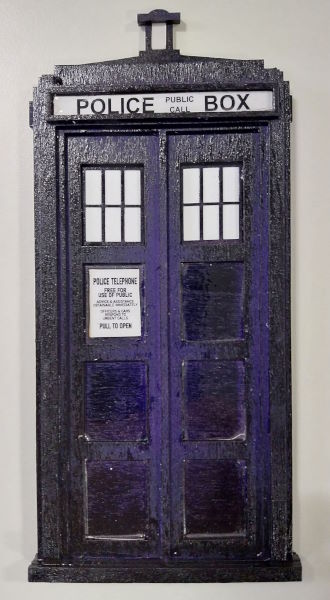
The plan was there for to create the 3D artwork using 5 layers and separating out the window frames as these require more detail. The diagram below shows the initial vector image and the different layers with the final layer (inside the 4th drawing) which is made-up of a small piece for the light an extra strip at the foot of the Tardis an outer boundary for the top signage.
To test the concept I produced an initial version using cheap 3mm plywood. This would allow me to judge how effective the different layers were and also identify other complications. What I did find was that there was an additional spacer for the top banner "POLICE BOX" signage which was not required. The step on the side bars was not clear and I therefore decided to shrink these to exaggerate this feature.
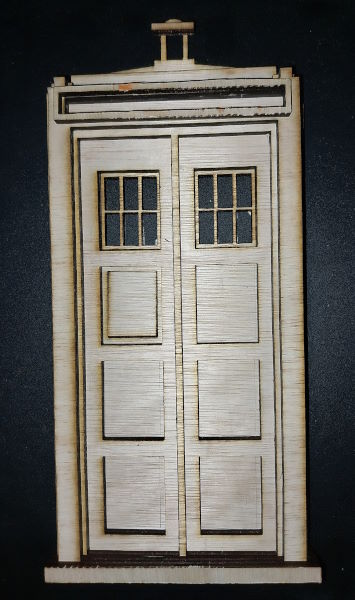
Other challenges I faced were how to do the white parts of the Tardis as the laser I am using cannot cut white acrylic. This was not too difficult to do for the “POLICE BOX” signage at the top and the signage on the door as these were printed on white card using a laser printer. My initial tempt at doing the windows using acrylic too overlay the individual window panels did not produce a pleasing result and I therefore had to come up with an alternate method. I cut the window frames out of heavy card that I backed using double sided adhesive so that the adhesive is was cut to the correct shape at the same time as the window frames. The backing for the window frames was cut out white acrylic using a mini table saw.
The final touch to this was to spray paint the 3D wooden image and also the window frames.
\ Get the latest news /